How We Build

From first measure to final plant.

Six checkpoints, one team. The same hands that walk your property on day one are the hands that lay the last paver and plant the last tree.

Why we show the work

No subcontracts. No surprises.

Most landscape problems happen below grade — in the parts you can't see once the project is finished. We show you every step because every step matters: the depth of the dig, the type of stone in the base, the way the joints are set. Twenty Ontario winters of experience says you can skip none of them.

01

Measurement & Design

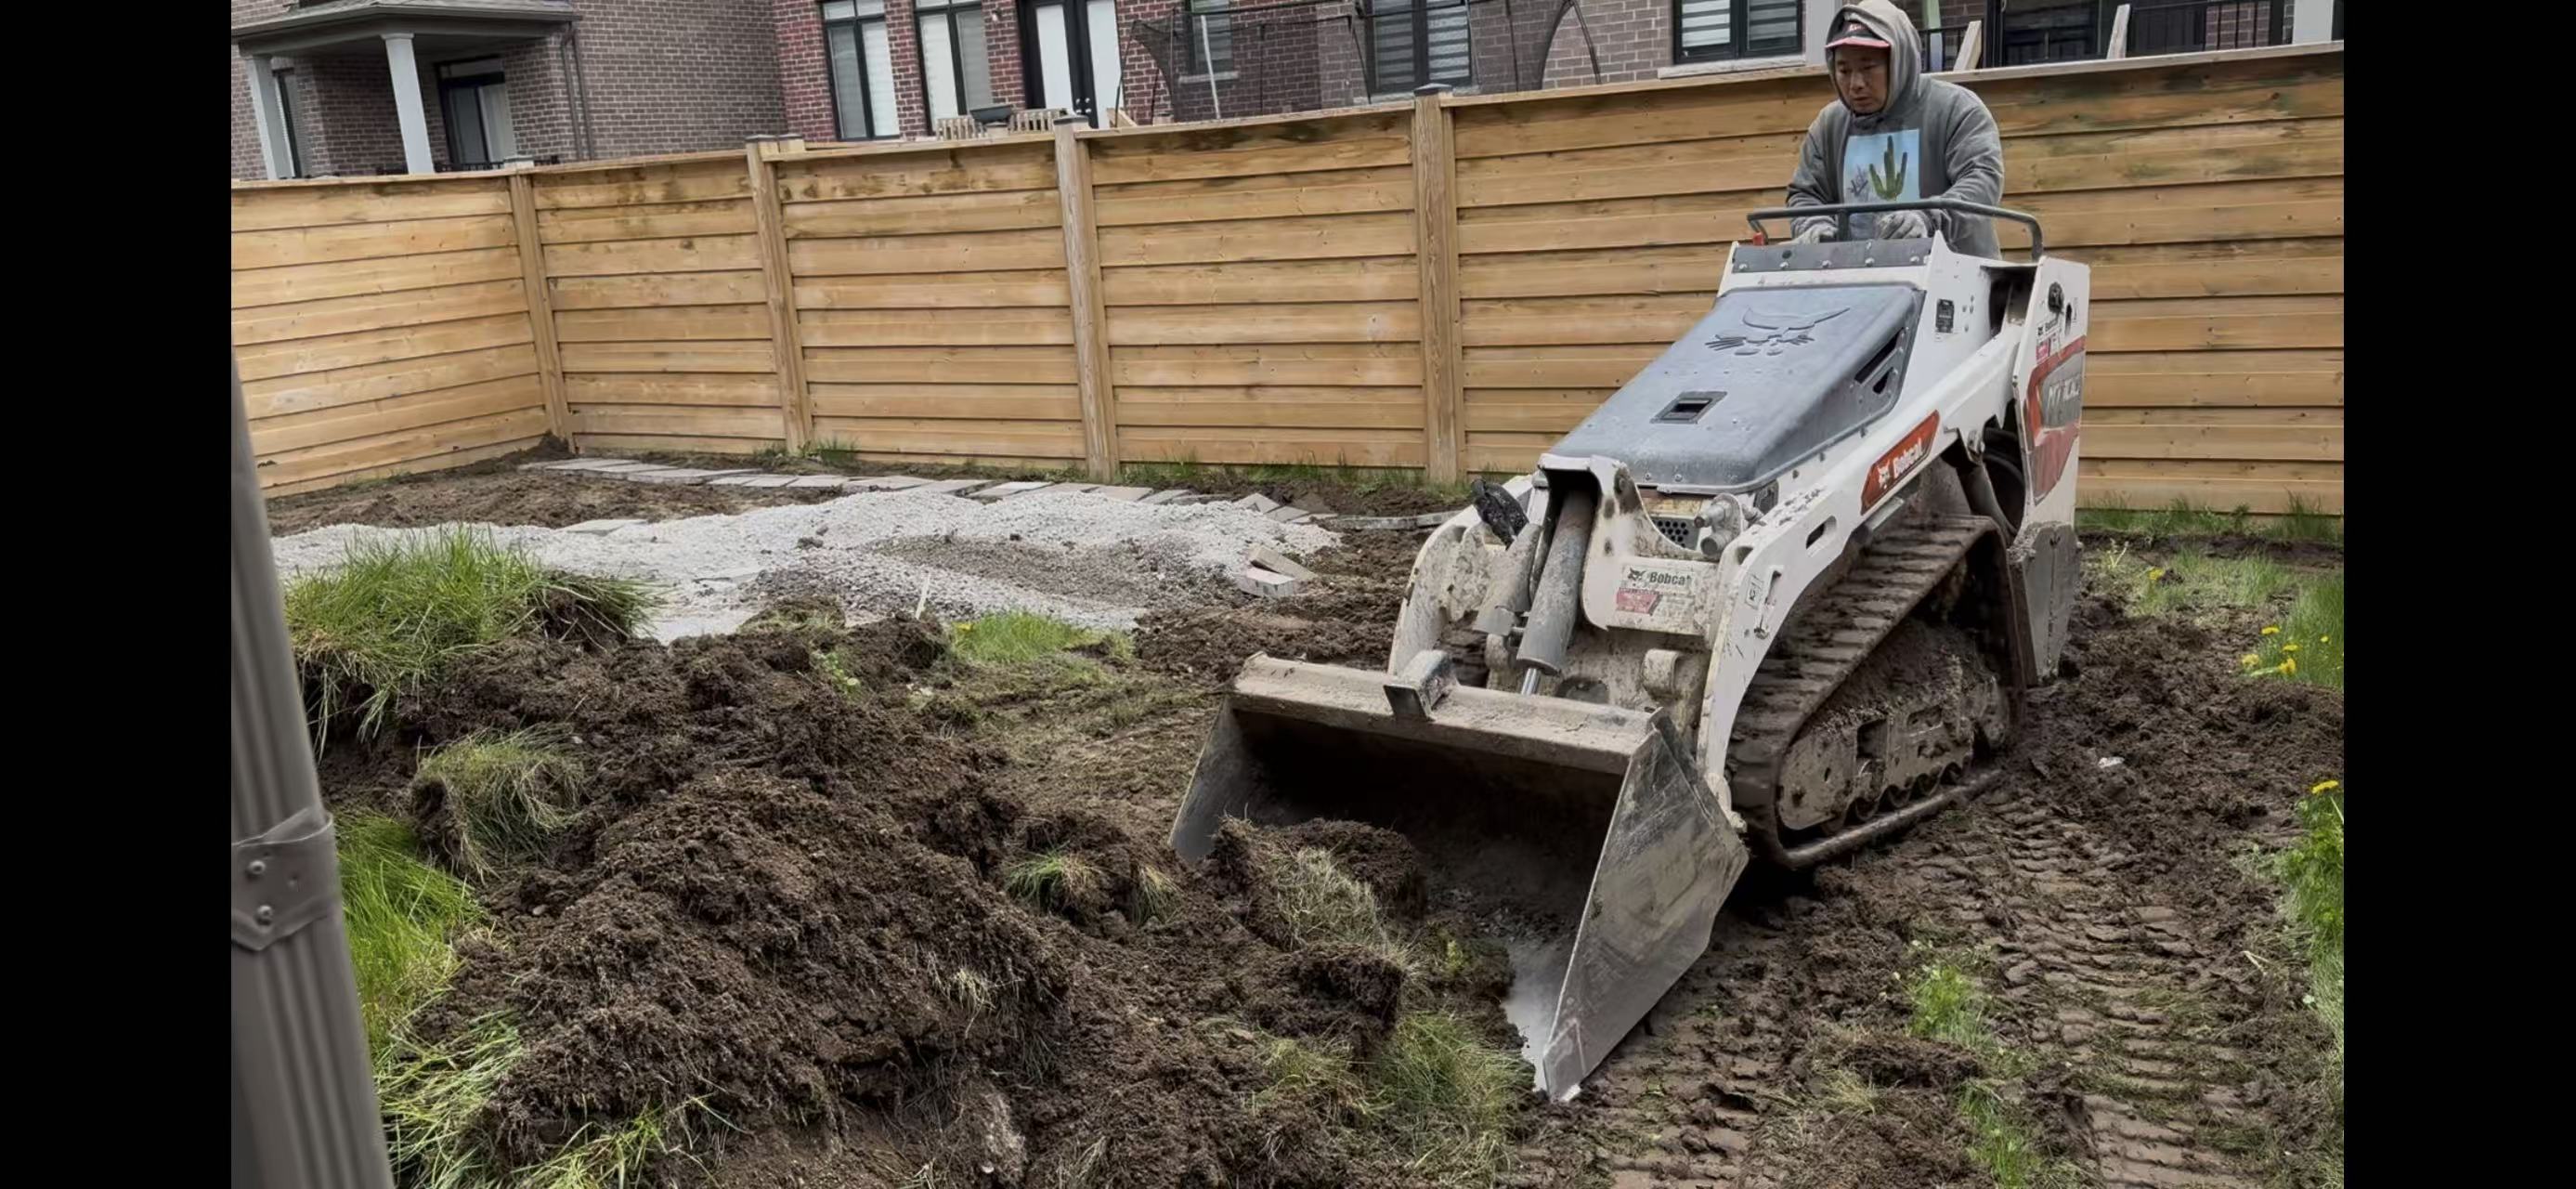
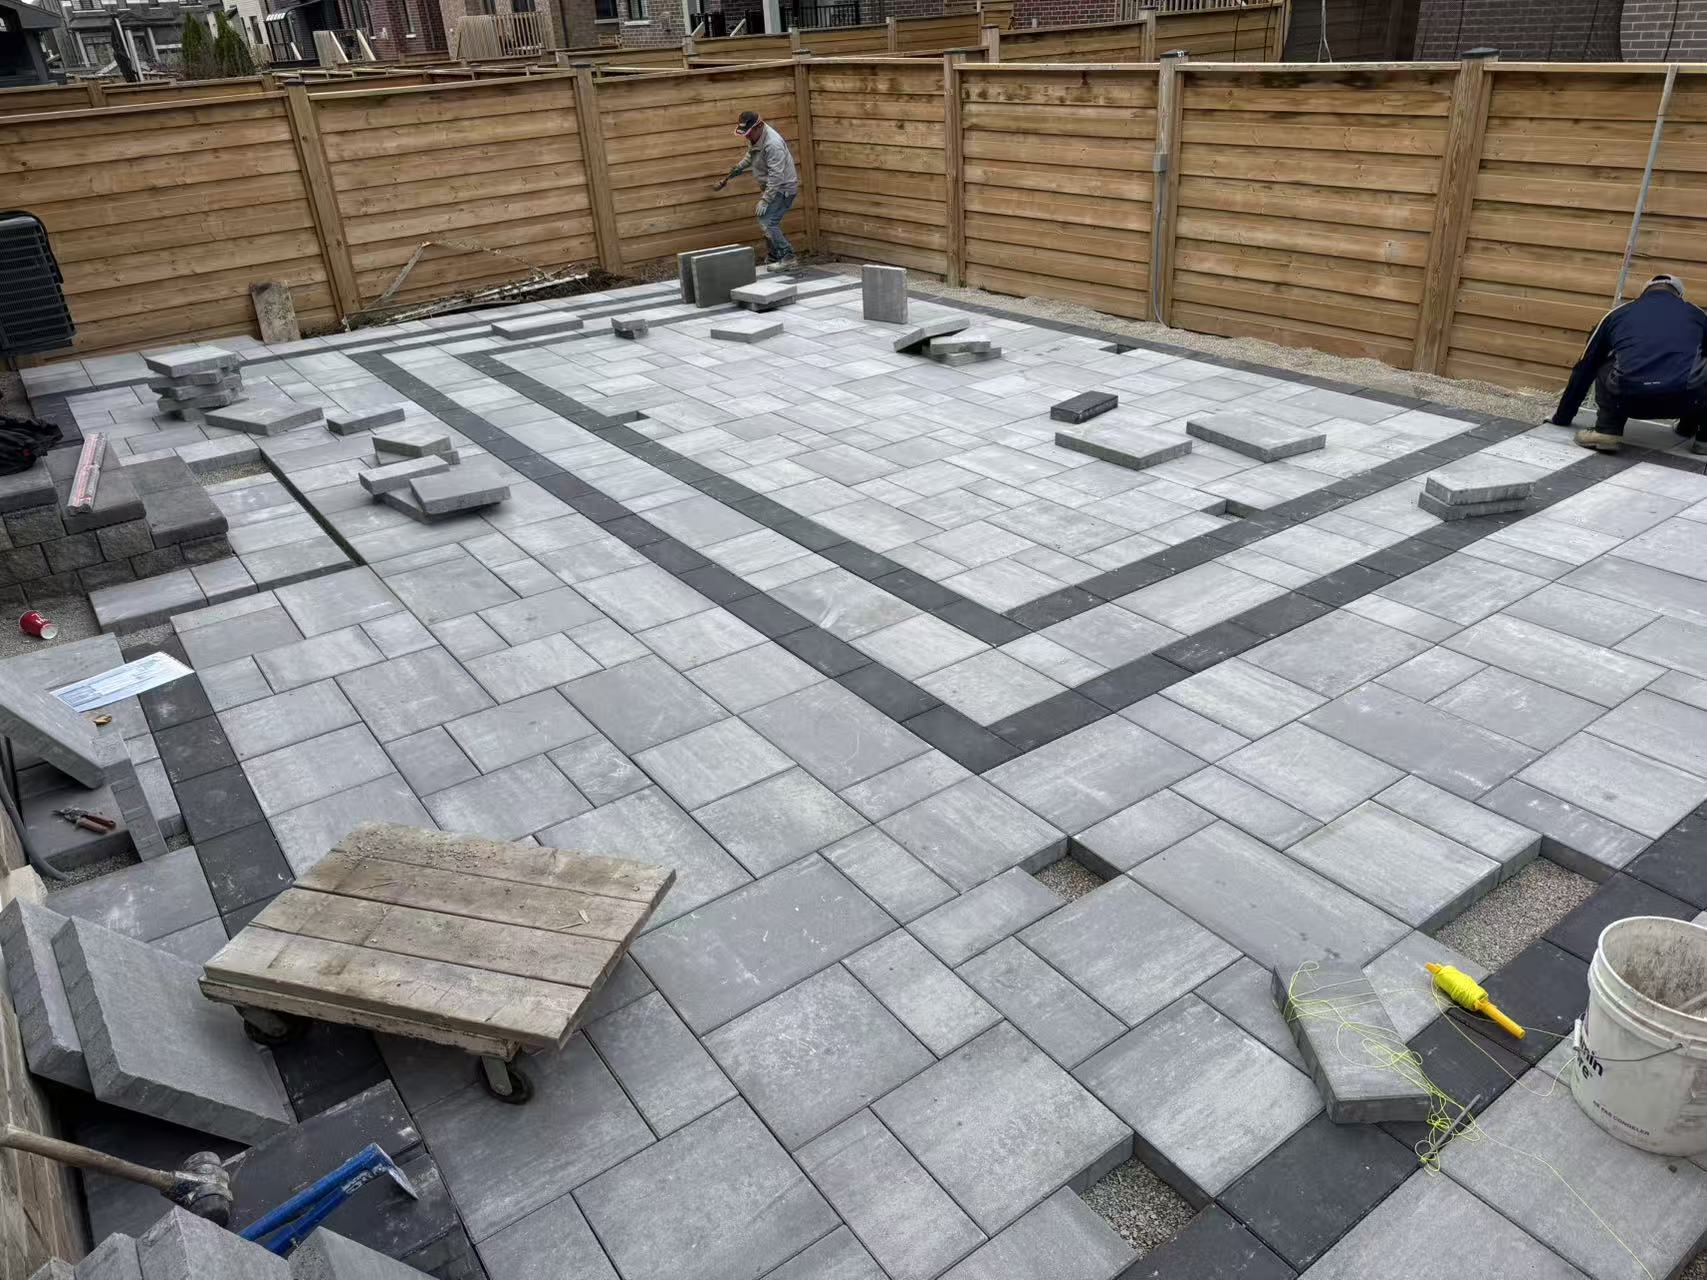
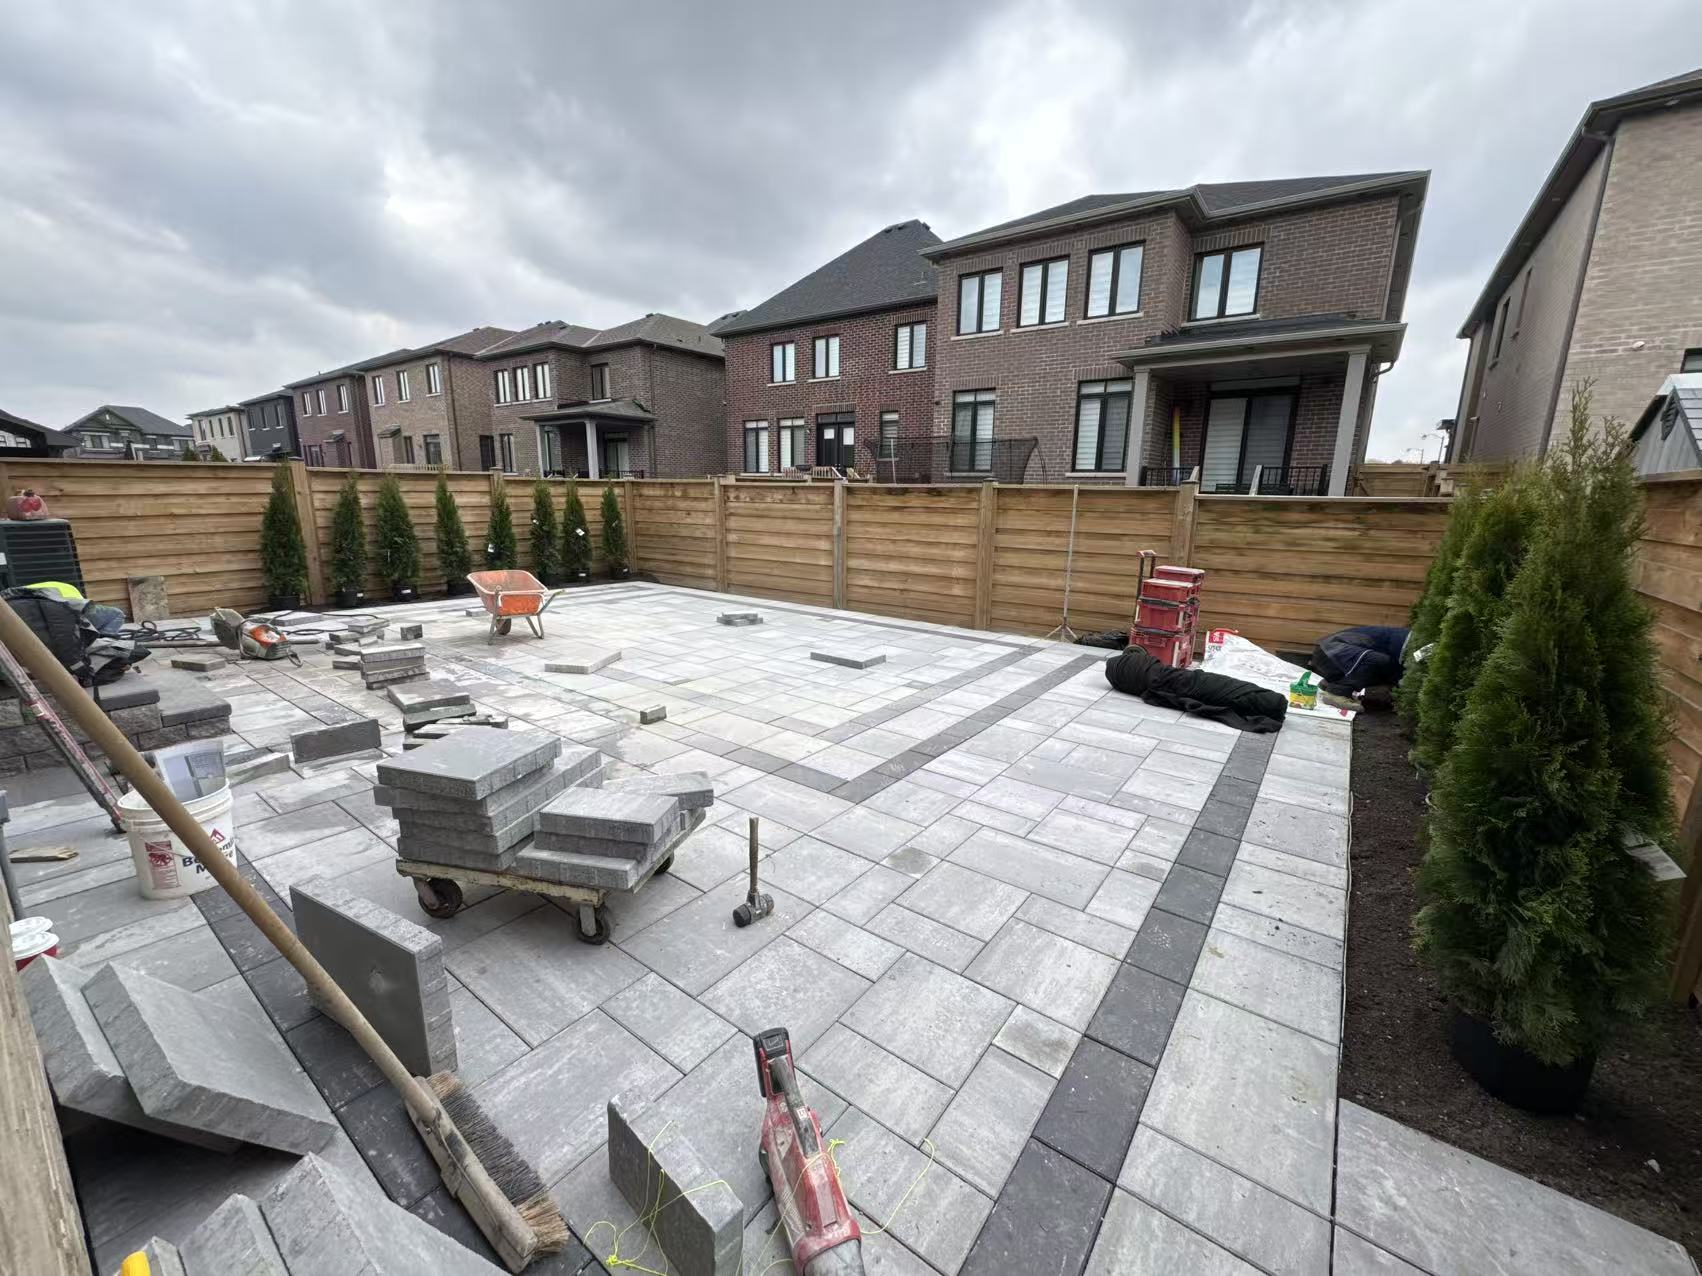
Every project starts on site. We walk the yard with you, take dimensions, note the grade, the drainage, the existing planting — then take it back to the desk and build a full SketchUp 3D model. What you see in the render is what gets installed.

On-site visit · Site survey · Full 3D rendering · Material specification

On-site measurement of an existing backyard before redesign
The site, before
SketchUp 3D rendering of the proposed backyard with paver patio, banded border and a row of cedars along the back fence
The 3D design

02

Site Clearing, Layout & Excavation

Strings go up, lines go down. We mark the design on the ground, clear the area of sod and organics, then dig a clean square cavity to full depth — no rounded corners, no shallow spots, no shortcuts.

Mark-out · Sod removal · Squared excavation · Subgrade inspection

Skid-steer clearing sod and excavating the backyard to subgrade
Skid-steer clearing the cavity to full depth

03

Backfill, Compaction & High-Performance Bedding

The base is the part nobody sees and the part that decides whether your driveway is still flat in twenty years. We backfill in lifts, compact each one with a plate tamper, and finish with high-performance bedding stone — the engineered foundation pavers actually need.

Lifted backfill · Plate-tamper compaction · ¾-clear stone base · Geotextile where needed

Crew member compacting the stone base with a plate compactor
Plate-tamping ¾-clear stone in lifts

04

Final Grading & Layout

Laser level, screed bar, string lines. We bring the bedding to a perfectly flat plane with the correct slope for drainage, then dry-lay the pattern to verify cuts and joints before a single paver is set permanently.

Laser-level grading · Drainage slope · Screeded bedding · Dry-laid pattern check

Worker screeding bedding sand to a perfectly flat plane
Hand-screeding the bedding course flat

05

Paver Installation

Pavers go in by hand, stone by stone, joint by joint — every cut on a wet saw, every closure hand-fitted. Edge restraints are mechanically fastened, polymeric sand sweeps the joints, and final compaction locks the field together.

Hand-set pavers · Wet-saw cuts · Edge restraints · Polymeric joint sand

Two crew members hand-laying interlocking pavers in a Roman pattern
Two-person hand laying
Overhead view of the paver field mid-install, with the dark banded border running through a Roman pattern
Banded border, Roman pattern

06

Planting & Finish

The hardscape is the bones; the planting is the life. Trees, shrubs and perennials go in to the design plan, beds get edged and mulched, and the site is left clean — ready for you to walk out the back door and use it.

Tree & shrub install · Bed edging · Mulch · Final clean & walk-through

Finished paver patio with a banded border, freshly planted cedars along the back fence
Cedars in, finish coming together

On the job site

The work, in motion.

Short clips from active projects across the GTA. Tap any video to expand and unmute.

Ready to start?

Every project begins with a free on-site visit.

Caledon · Mississauga · Brampton — we'll come to the property, walk the yard with you, and put a 3D design in your hands within the week.

Request a Quote 647-327-5678